Help - Search - Members - Calendar
Full Version: 5th Gen Frankenviffer
VFRD > VFR TECH > Modifications > Featured Modifications
Pages: 1, 2, 3
redmarque
QUOTE (The Phantom @ Jan 26 2009, 11:11 AM) *
Thanks for the Firth Of Forth close-up laugh.gif

Amazing engineering - Paul Crowe at The Kneeslider loves this sort of stuff (he ran an item on Toro's blown 5th Gen), can I send a link to him? Or do you want to wait until you're a bit closer to finished.


I had exchange of emails with Paul when I started the project, as I send him tips of strange bikes from around the internet.

I'd rather wait until the bike can be ridden please! (as it would be very embarrassing if after all this it didn't work!)

The front shock has a guestimated spring fitted and is over damped, but will be good enough test ride on. Larry Web owner of www.pdq1.co.uk PDQ Motorcycle Developments has recommended that I have a custom nitron shocks made once complete. (Larry worked with Norman Hossack on road based conversions a few years back)
PDQ is also featured in the book Motorcycle Road & Racing Chassis: A Modern Review of the Best Independents
Lots of lovely pics of frames if you like that sort of thing. blink.gif
Linky Amazon

PS. I have a confession.... It was me who sent Paul a link to Toro's bike. blush.gif
redmarque
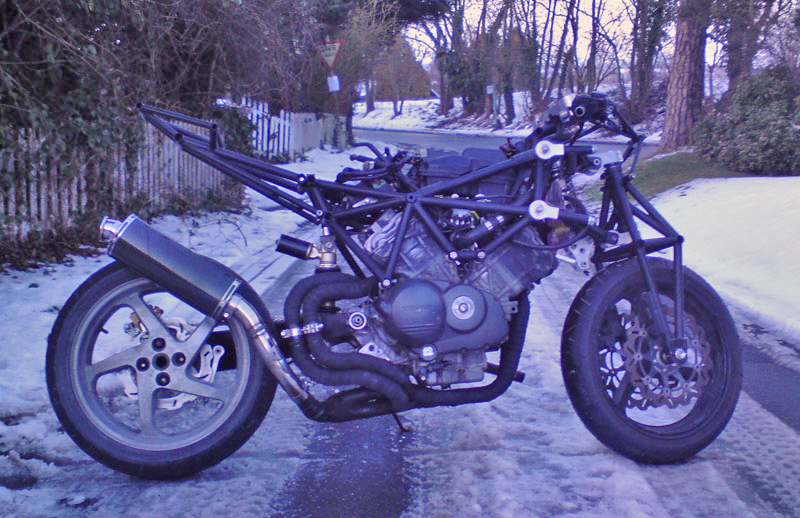
Spent some time re-welding one of the front exhaust tubes for a better fit around the oil filter, then re-wrapped and sealed the tape.


Exhaust is an old CBR600F4 ART end can with modified link pipe. hanger's still to be made, but will be OK to test the engine.
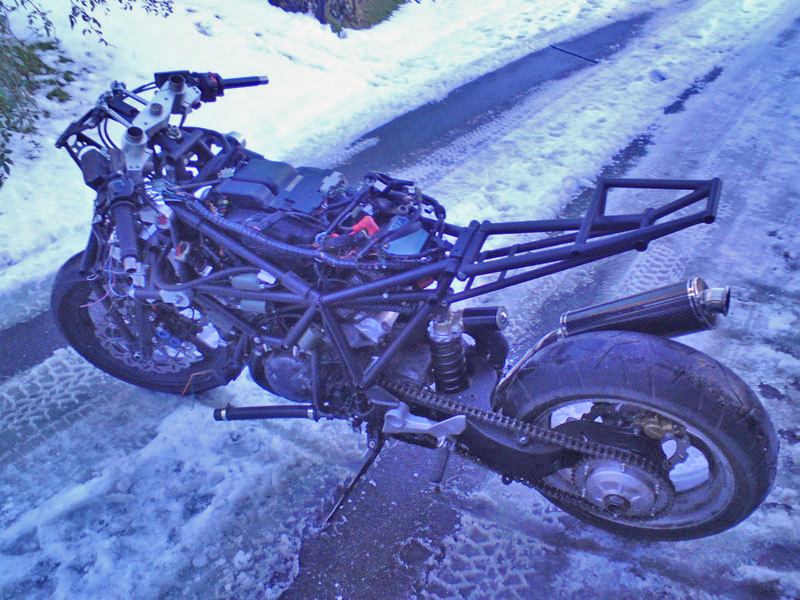
I like the MotoGP positioning leaves a nice empty area between the rear wheel and seat unit.
Next step is to re-mount the radiator and oil cooler. Now that the linkage for the suspension is in place the radiator can be mounted about an inch higher than before. So many little details to finish! laugh.gif
redmarque
Wiring the beast....
ECU is now mounted on top of the airbox.

Baileyrock
Looking good and fun to watch the progress! biggrin.gif
redmarque
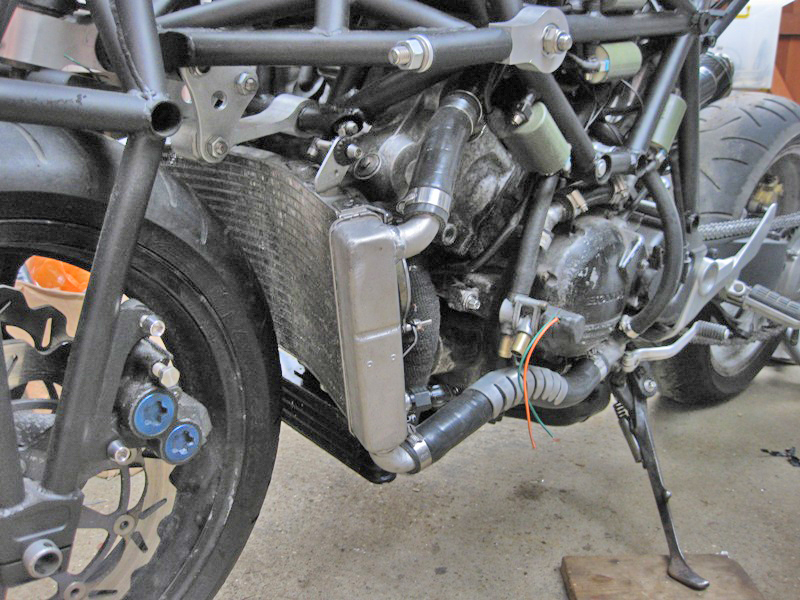
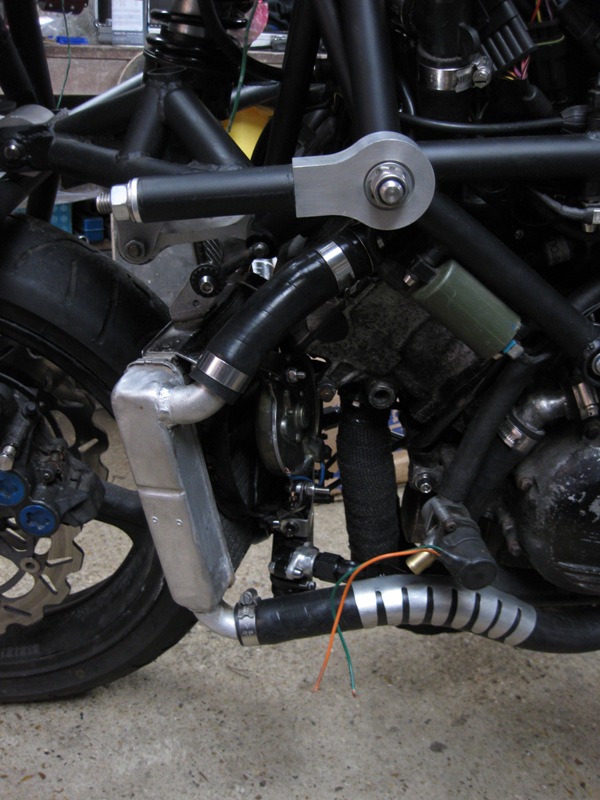
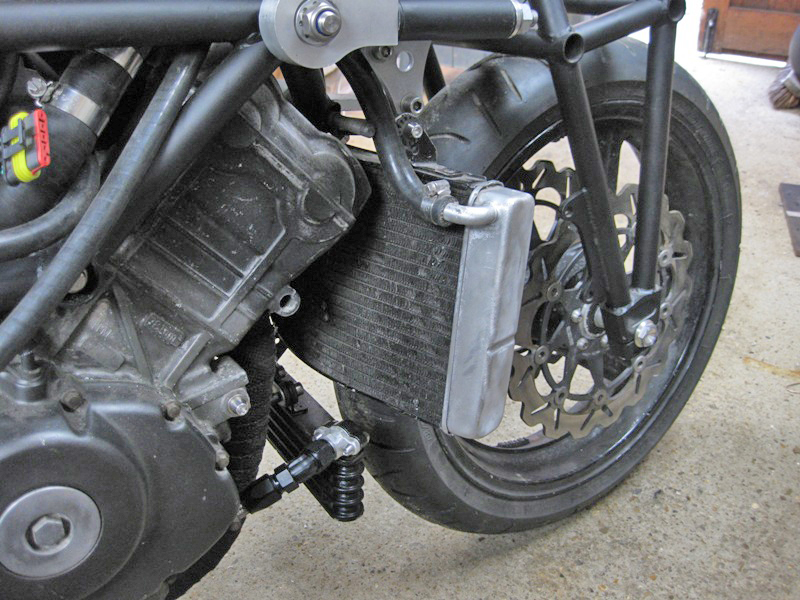
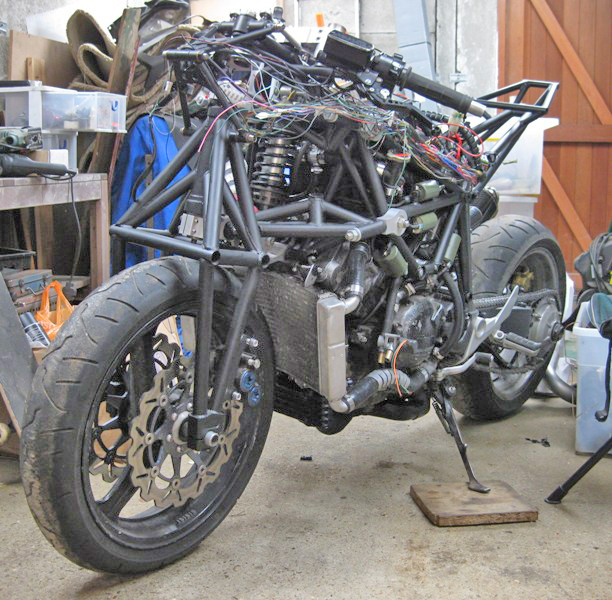
OK some more progress! Radiator and oil cooler are on.

Re-routed the upper radiator pipe with an 90 elbow now that the rad is in a higher position. I'm pleased because it looked like scraping the floor if cornering hard before! Re-used the alloy pipe guide on the return pipe to keep it out of the way.

PAIR system is going to stay until after VOSA SVA - they test emittions mad.gif


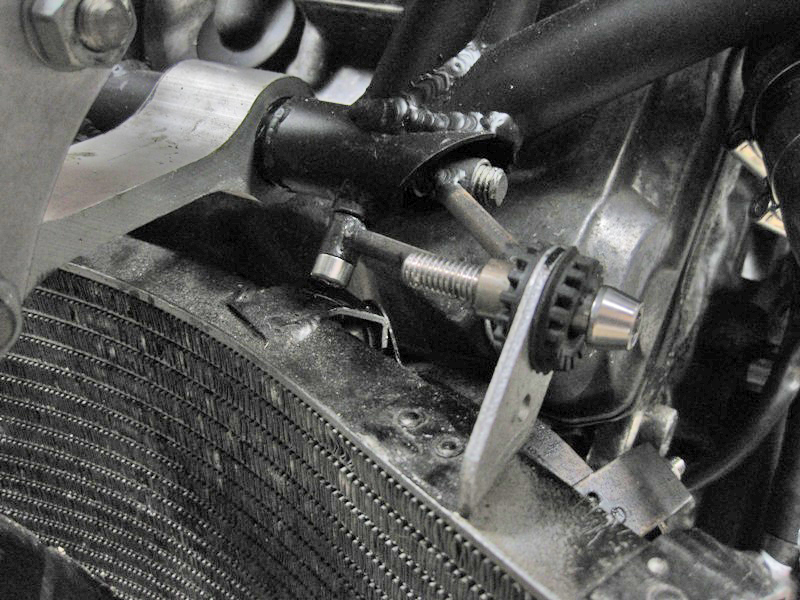
Fan has been moved 6mm closer to the radiator and trimed the edges of the motor body so to get everything as close as possible.


The new mounting brackets.


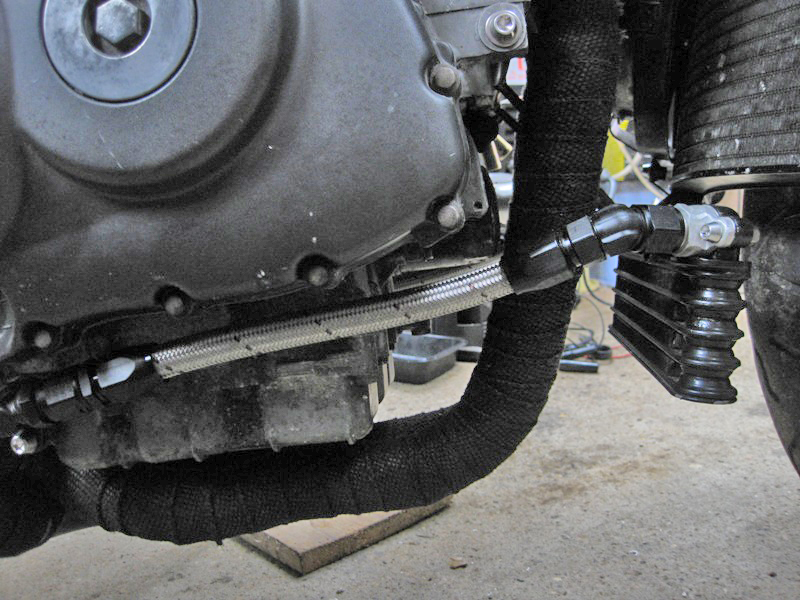
Oil cooler view from right side. Oil Cooler is from a old CBR1000 nice to have 4row instead of the stock 2.


Earl's oil hose and connectors. Earl's do steel bosses which I had welded to the stock engine take-offs


Plugged the battery in and connected the loom together during the week - turned the key - nothing! now in the process of diagnosing what's wrong! - always thought the electrics were going to be the worst bit!


SEBSPEED
Nice progress!!

This is going to be a cool bike, can't wait to see it done! (neither can you, I bet!)

I'm sure you've thought of this already, but - do you have the bank angle sensor connected and placed properly?
redmarque
QUOTE (SEBSPEED @ Feb 20 2009, 12:09 AM) *
Nice progress!!

This is going to be a cool bike, can't wait to see it done! (neither can you, I bet!)

I'm sure you've thought of this already, but - do you have the bank angle sensor connected and placed properly?


Cheers Seb,
Ah yes, the bank sensor - the one we all hope never has to operate! I've moved it to under the fuel tank just behind the battery - havn't fixed it to anything yet, but it was upright last time a looked blush.gif I think the issue could be to do with the clutch diode circuits from the neutral light switch and clutch lever, so trying there first.
SEBSPEED
And then there's always the kickstand switch and the kill switch... you did turn that on right? goofy.gif

I don't mean to poke fun, I'm really just hoping it's something simple for your sake so you can ride! fing02.gif
redmarque
Set the scene: Dr FrankenViffer's Lair it's dark and gloomy; a slight chill is in the air. Dusk has fallen Dust hangs in the light shed by florescent tubes. Energy is building as the 12Ah battery charges for 4 hours.
Voltage now reads 12.9V
Dr FrankenViffer patiently attaches the terminals using a 5mm allen key wrench. One last check of his subjects electrical connections.. all fluids have been added in the correct quantities.

He apprehensively turns the key to the ON position…. 3 lights appear, one green.. neutral, first red, oil pressure then the last, FI

Now the moment he has been waiting for…
Gripping the throttle tube gently he presses the starter button…
Vrroooommm! The throaty roar of a V4
IT LIVES!!!!!!!!
vfrrider
Bwah, ha, ha, ha. It's alive, I tell you, alive.

Thats a great feeling after all the cutting, welding and wrenching, when you hit the starter and it cackles to life.

Great job. Now for the test ride when the ice clears.

Congrats.

Larry
VFRrider
SEBSPEED
Awesome!

Let me be the first to ask for a vid of the first ride! goofy.gif
Vee-Ef-Ar
Red ain't dead!


IT'S ALIVE!!!!

Onya mate fing02.gif I must admit that last pic with all the wiring kinda scared me.

Now... what's next? lol
Badazzteacher
Been watching this awesome project for some time. I gotta ask about the skins though. Is she going to be naked or will the VFR body work fit with mods done?

Also, hows the progress on the custom helmet(avatar) too? biggrin.gif
redmarque
Thanks guys! biggrin.gif it's a great feeling to finally hear the engine start and run! I'm wasn’t entirely sure on the motors history, only that it had done about 20k before being plunged at 30mph into the side door of a car… btw it was a true red VFR as one of the fairing stays had a small piece of plastic still attached!

Motor sounds good though. I’ll post a clip of it running once I’ve sorted a few issues!

Major Issues!
Oil take-off on right side of the engine is leaking badly!! – order and replace o-ring
Oil cooler union joints - replace o-rings
If still leaking – make new unions using old oil coolers mounts.


Thought I’d make a list of other things to do before road test!

Re-wrap wiring loom
Secure loom to frame / resolve issues where wiring is close to engine
Wire in radiator fan
Wire in PAIR solenoid
Find / fit bolts to secure foot pegs to engine
Thread lock all bolts suspension linkage front and rear
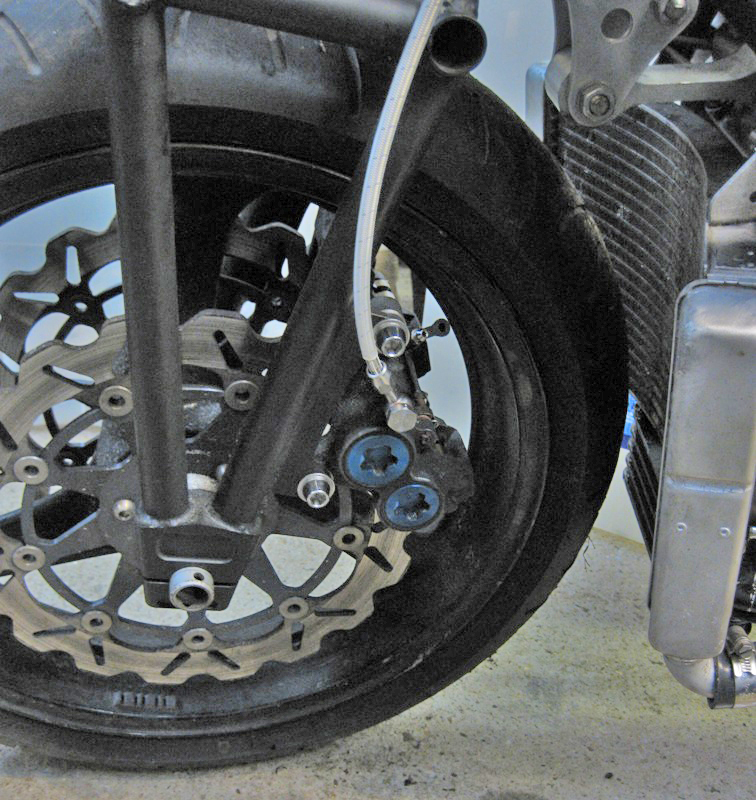
Cut and measure earl’s brake lines and clutch line
Route hoses and attach hose ends
Measure and make caliper spacers
Make bracket / mount engine stop tilt switch
Weld on battery box rear mounts
Weld on ignition switch mount
Order /fit coolant system jubilee clips for air bleed to radiator

As to bodywork I’d thought that a half fairing a bit like a Suzuki SV650 size would suit well? Maybe with some Britten influence? Fork legs definitely need fairing in. Quite keen on KTM’s RC8 styling with angular shapes and sharpish corners – should make it easier to make the fiberglass moulds?
Tail section will have to be minimal and wrap around the underside down to the rear shock - Rossi M1 style. I’m thinking of cowling in the radiator as a separate piece to the top fairing too.

New oil cooler o-rings are coming in Tuesday plus P-clips and spiral wrap for the loom.
So sound clip soon!
magellan
Very cool project, and well done. I can't wait to see the ride report, final weight, and fairings.
redmarque
Ok Guys here's some clips!

First time the engine's run longer than 20 secs. Notice the smoking exhaust wrap! it's never been hot before...

http://www.youtube.com/watch?v=zAnwvI4_u7U

Quick rev of the motor.

http://www.youtube.com/watch?v=9MKZ67ZCyiU
SEBSPEED
That had to be great. I can't wait to feel that feeling again!
vifferluv
QUOTE (redmarque @ Mar 6 2009, 01:05 PM) *
And people think I have *music* on my ipod. I really could listen to that all day.

Thanks for taking on this amazing project and showing Honda how to surpass the K1200's as the ultimate sport tourer!
redmarque
I was in shock when it started! Now I just think I must be mad to undertake something like this, one day in the near future I'll have to ride this thing... gulp!... what have i done??

p.s. the short end can is a tad fruity!
Nailer45
I have been lurking just watching the progress on your project and the one word to describe it is Awesome. I can't wait to see the finished package.

Just wondering what your bikes total weight will be in street form ?
redmarque
QUOTE (Nailer45 @ Mar 7 2009, 11:02 AM) *
Just wondering what your bikes total weight will be in street form ?


Thanks for your generous complement!
I weighed both ends a while ago without radiator, oil cooler, front shock, battery and other stuff at about 162kg, so expecting about 180-190kg?
Double wishbones are over engineered so I could probably save a few kg's with a different design. The whole bikes made so that it would be easier to fabricate without expensive cnc machining.

I guess if I had more engineering experience I could make it all much lighter!
magicman
I can't wait to see this on the road/track.

I love a good engineering job, and even if it is a little heavier than it has to be, you gotta start somewhere. Maybe a Titanium version down the road? That should be a bit lighter... 491.gif

I'm sure you'll go through a couple iterations before you're done with the bike, and I'll be keepin up on all of them!
redmarque
Small update on the HossackViffer

After at last getting the motor to start, I’ve been working though the issue list – 1 step closer to ride day!

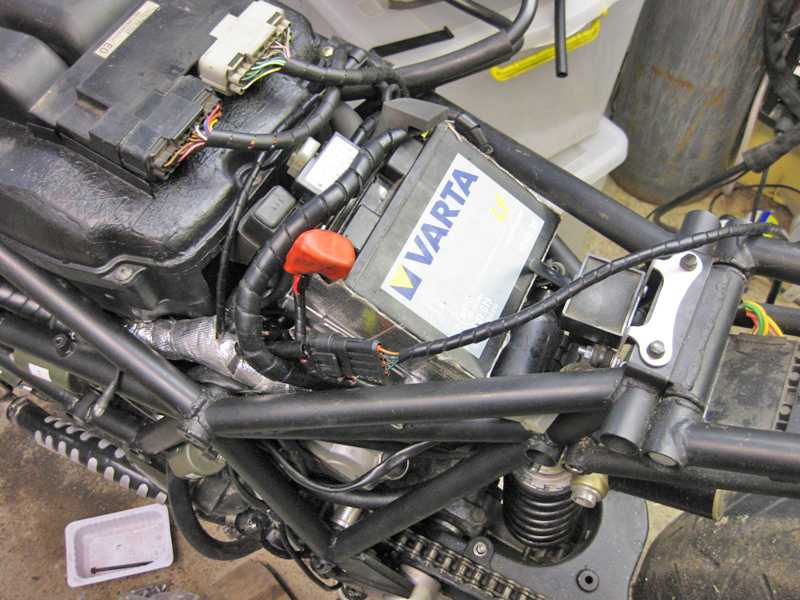
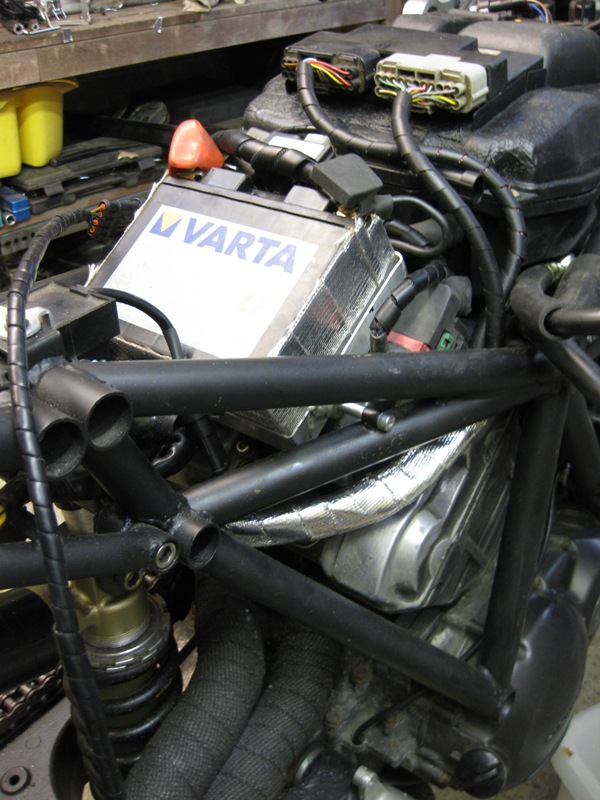
As you can see from the photos I’ve worked out the final positions for the fuse box, Starter motor relay, Start/Stop relay and Fuel pump relay. Each has an aluminium bracket riveted to the Battery holder.


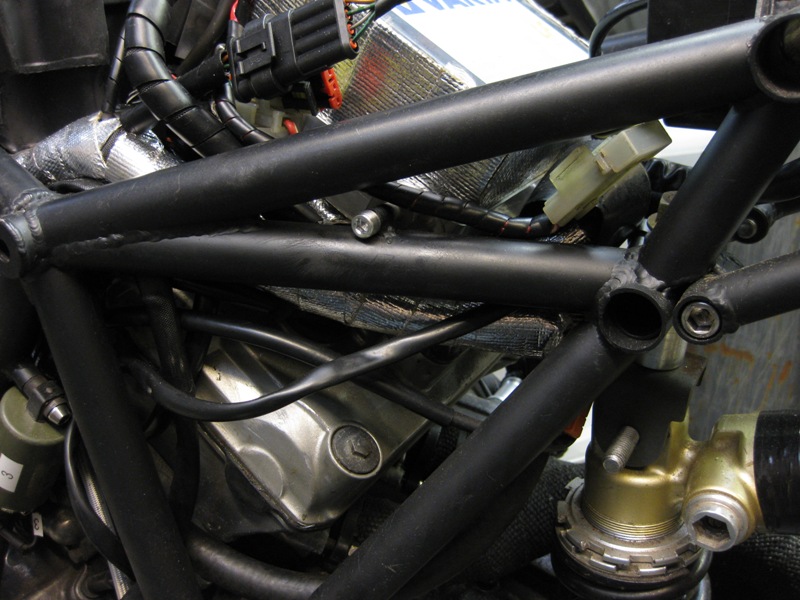
I had concerns about protecting the wiring from the heat of the rear cylinder head and generally neatening the loom.


Everything is now covered in PVC spiral wrap and the sections of loom close to the engine are wrapped with heat resistant tape called Thermoshield. Apparently it can with stand 2000 Degrees radiant heat. Thought it would be a good idea to cover the battery too!


Front brake lines are on as well as the clutch… If anyone can point me the direction of a good fluid adding/bleeding procedure? That would be great!
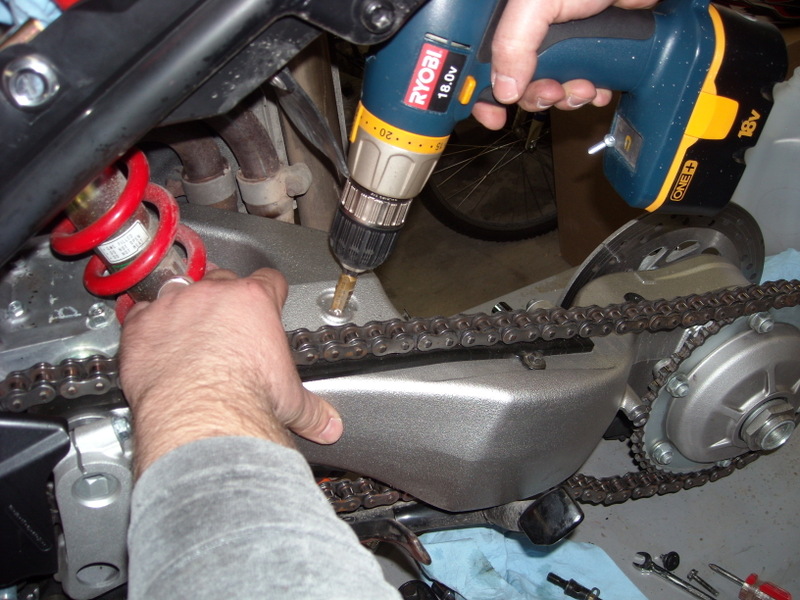
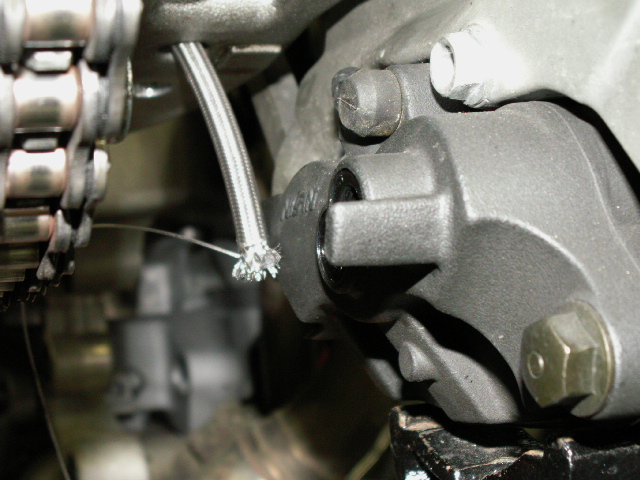
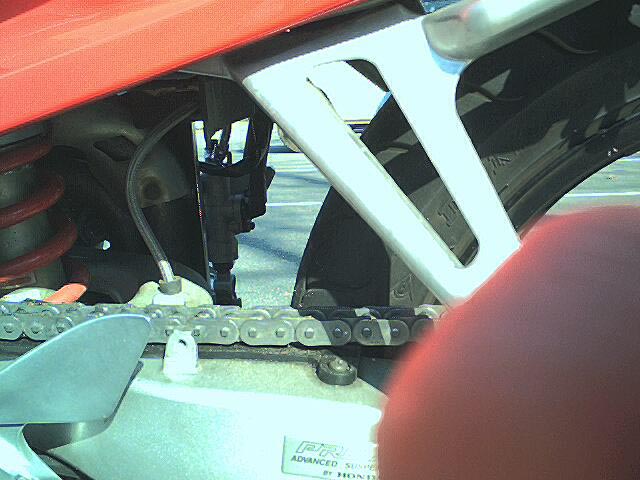
Rear line is going to go though the swingarm. I’ve seen someone on VFRD do this before. It looks the business! I’ve drilled angled holes and blown though a piece of string to pull though the brake line.
SEBSPEED
QUOTE (redmarque @ Mar 19 2009, 05:12 PM) *
If anyone can point me the direction of a good fluid adding/bleeding procedure? That would be great!
Rear line is going to go though the swingarm. I’ve seen someone on VFRD do this before. It looks the business! I’ve drilled angled holes and blown though a piece of string to pull though the brake line.


Nice work! HS has a brake & clutch bleeding how-to here on the site.

And the line thing... that was me! biggrin.gif


Small tip for you, drill a small hole in the end of the hose, and run your string through that hole, as opposed to tying the string around the hose. I had a heck of a time getting the hose out the rear hole, but I also drilled the hole straight in... blush.gif

Pulled the hose through with 100lb test fishing line
Tightwad
I got to see the results of this mod, very well done and clean as well!
magicman
Keep up the good work... Any cool fairing plans?
redmarque
Cheers guys,

Of course Seb, it had to be you! - Ever thought of changing your name to "Mr Mod" ?

I like the idea of drilling a small hole in the line end and pulling with fishing wire - was wondering how to get a good grip when line pulling! fing02.gif

If you look at my earls brakelines they have clear heatshrink over them, which earl's supply too. Should stop any rubbing on the rear line when going though the holes.

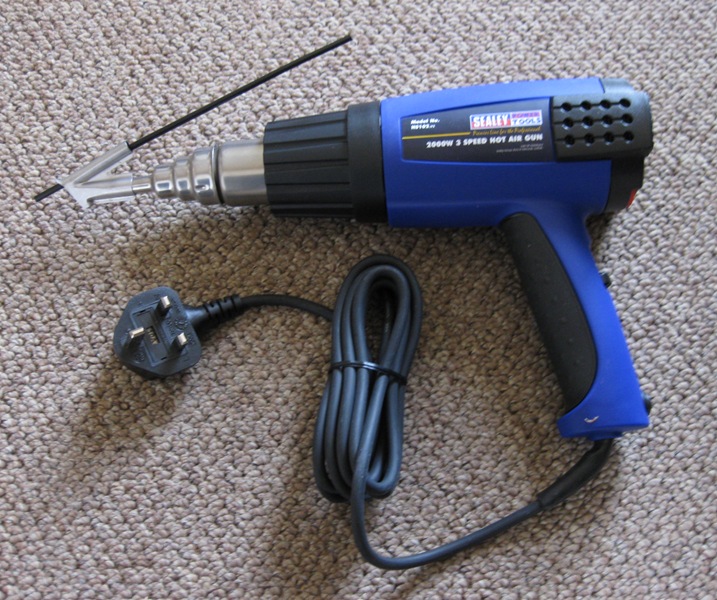
I've had a delivery today! New toy -with lots of uses!

Plastic welding gun!


My 98 has a battered upper fairing and indicator mounts after the previous owner dropped the bike on grass at a track day!

Hopefully this will work better than the epoxy holding it together at the moment. - probably do the de-dumbo mod on the indicators too.

I've picked up some 3-4mm black pvc plastic sheets for the bodywork, this should hopefully help making large flatish parts smooth. If anyone's tried making bodywork before, it's really hard to get flat and slightly curved in wood and filler. Also could help to ease the issue of getting both left and right fairing sides the same.


redmarque
Finally got round to doing something with the bike this week.

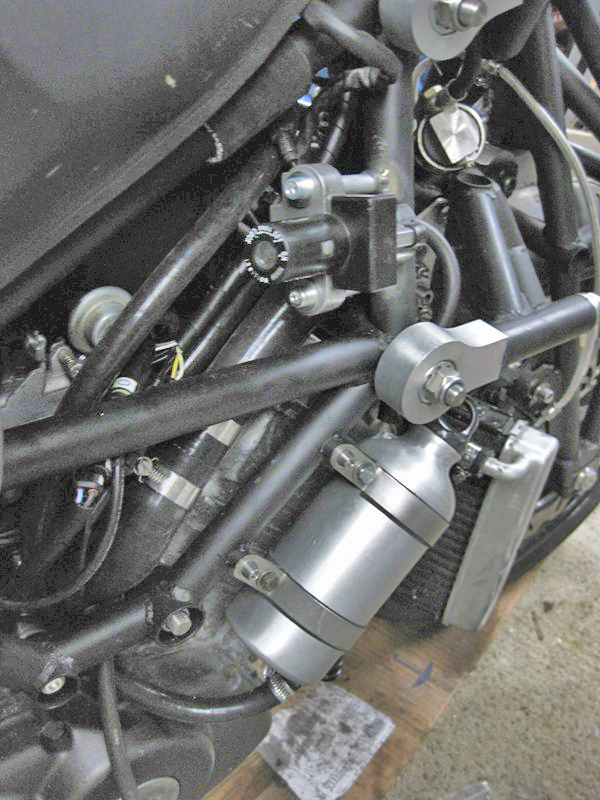
Welded on mounts for the coolant bottle and ignition switch
Coolant bottle was found in a pound shop, I guess you guys have dollar shops in the US too?

The Phantom
A Sigg bottle! Excellent idea, they weigh next to nothing.

Regarding the rear brakeline through the swingarm - the plastic coating on the Earls line is still not enough to prevent chafing, you really should run the line through grommets at each end. Easy enough and with the bonus of larger holes making installation easier fing02.gif
redmarque
Yes, it's a very cheap copy of a sigg! It was lacquered green before I stripped the paint off. straps are stainless steel with 1mm rubber pond liner cut to size.

I'll take your suggestion on about the rear line, how about a rubber grommet with a short length of rubber tube though too?

Bike should be ready for a short test ride this week! Glup!
The Phantom
I know the SSS brakeline mod has been documented here but this site has a good how-to:

http://www.vfrworld.com/tex_vfr/tech/swingarms.htm


redmarque
Thanks Phantom! that's really apreciated.

I have some of those rubber lined P-clips to hold the brakeline away from the chain and sproket.

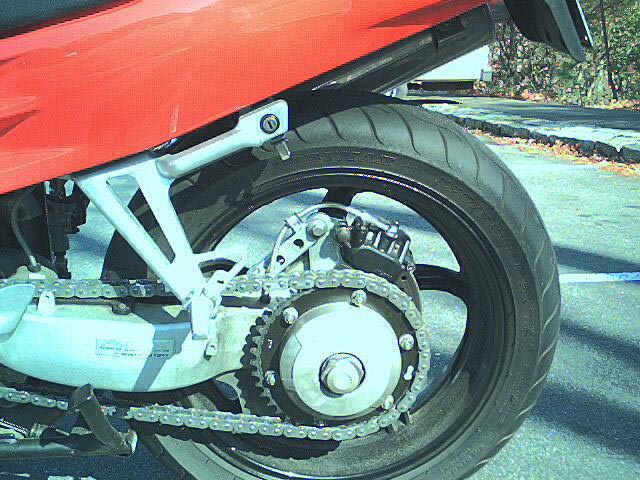
I need to shave down the rear side of the cbr600rr caliper too - it currently would hit the wheel spokes! only needs about 5mm off the top corner which won't effect the overall strength much.
This is a "lo-fi" version of our main content. To view the full version with more information, formatting and images, please click here.
Invision Power Board © 2001-2009 Invision Power Services, Inc.